How To Organize Computer Files – Mac | Step by Step Guide
How to organize computer files -mac is the follow-up to the blogpost How to organize files on a mac computers. ⬅️ Make sure you read this one first.
In this post, I will take you on my journey of how I decluttered my Mac and organized all files on it.
Free yourself from email stress!
Reduce the number of emails you get by changing the structure of the emails you send.
Learn how with this simple one-pager.

Imagine…
It’s Doable – Let Me Show You How…
If you are like and find peace and calm when things – or in this case “files” are organized on your computer, you are in the right place. I cannot create within digital mess. I empty my trash can every day and prefer a clean desktop.
Step by Step: How I Got My Mac Files Organized
Step 1: Decluttering The Downloads Folder
A bit contrary to my previous post How to organize files on a mac computers, I did not dump all my files in one place first. Instead, I started with my files in 2 places:
- the downloads folder
- the documents folder
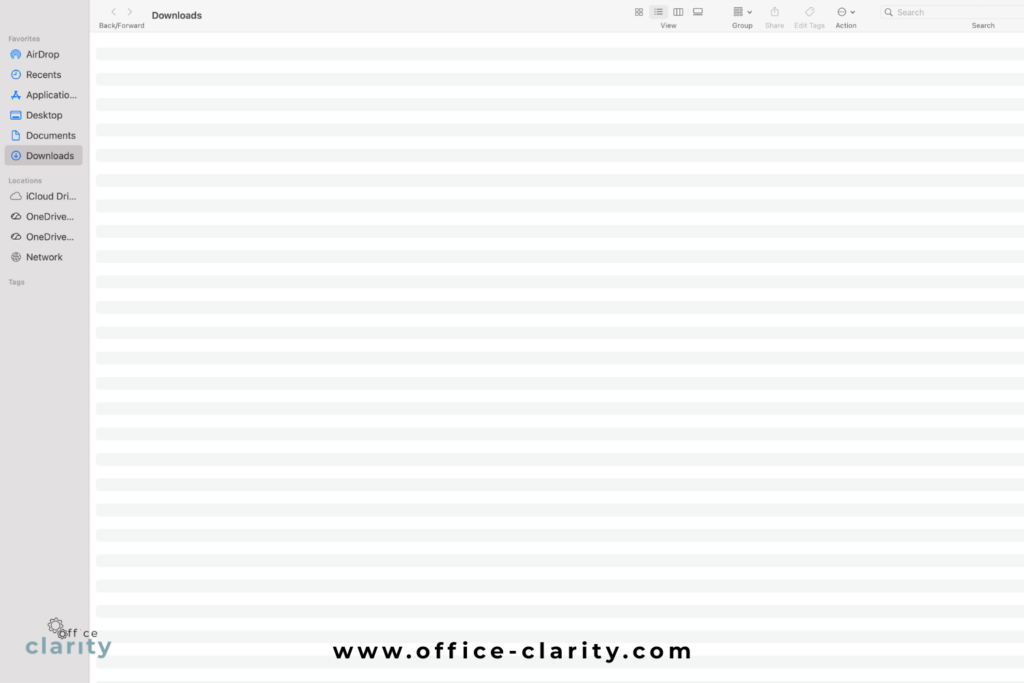
I started with the downloads folder because it was a big big mess. I had files in these from the past 4 years.
Instead of deleting all the files I no longer wanted, I selected all the files I wanted to keep from the downloads folder and placed them into a “Downloads-Keep” folder.
That process took a good couple of hours. I orgnized the files in download folder by type: PDFs, pictures, Word Documents etc. That helped me go through all the files one by one in chunks.
In the end, I had an emty downloads folder, which felt soooo good.


Step 2: Move the Download Keep Files to Your Documents Folder
In this second step, I moved all the files from the “Downloads Keep” folder to the general Documents folder. Now I did have all my files in one place.
I continued to declutter and sort from here and started categorizing the files I now had, such that I could create folders for each category.
Step 3: Organize your Files in the Documents Folder into Subfolders
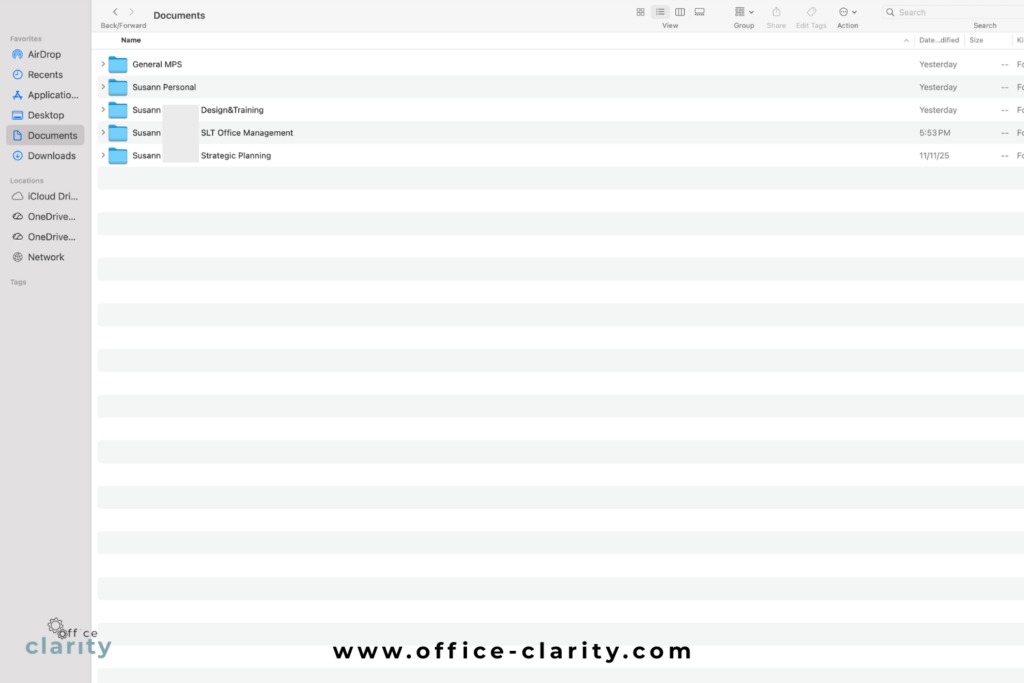
In this last step, I sorted all the files in my documents folder into subfolders.
For my work Mac, I create subfolders based on the different jobs I held within my organization, a personal folder and a general assets folder. This folder structure might look very different for you.


Within these subfolders there is still chaos. It will take a while until all documents within the 5 main folders are fully organized. However, having an empty downloads folder and clean desktop is a huge improvement already.
I will keep organizing my files on my mac – because…
psst!
I actually have to switch my Mac to a Windows machine pretty soon. That’s why I am trying to get my digital ducks in order before the move.
Want More Tips For An Easier Office Life? Consider these Articles:
How to Set up Rules for Outlook for Guaranteed Inbox Clarity
How to be Less Stressed at the Office with This Easy Email Habit
Email Back and Forth: The Best Way to End It For Good
Just Another Day at the Office – A Simple Daily Structure
How to Write a Professional Email Out of Office Notice
3 Proven Tips for Email Management Best Practices Outlook
How to Save an Email as a Template in Outlook
Rule for Gmail Inbox? 7 Easy Clicks to Set Them Up
How to Get Back Your Focus in the Workplace
Renaming Multiple Files at Once in 7 Surprisingly Easy Steps
How to Share and Email Template in Outlook and Why You Should Do It
How to Set Up a Mail Merge on Word
The Ultimate Guide to Email Subject Line Examples for Meeting Request
How to Organize Files Mac Step by Step Guide
How to Organize Files on Mac Computers
3 Easy Steps to Saving Templates in Outlook Desktop Mac
p.s.
One More Thing:
I am sure you would not say “no” to receiving fewer emails altogether. What if I told you there is a way you might not have thought of? A method that will reduce the number of emails you receive… I personally guarantee it!
Curious and willing to learn? Click below to receive your free email template for every future email you’ll write.
Write? Yes. You’ll see.